Published on: 2025-07-08
Updated on: 2025-09-26
Supply and demand trading is one of the most powerful and timeless strategies in technical analysis. Rooted in the economic principles of how prices move based on buyer and seller behaviour, this strategy allows traders to identify key price zones where major institutions and retail traders are likely to interact.
If you're looking to develop a consistent and logical approach to trading, mastering supply and demand zones can provide a significant edge. This article breaks down what supply and demand trading is, how it works, and provides eight pro tips to help you trade these levels like a professional.

In trading, supply and demand refer to the relationship between buyers (demand) and sellers (supply) in the market. When demand exceeds supply, prices tend to rise. Conversely, when demand is lower than supply, prices typically decrease.
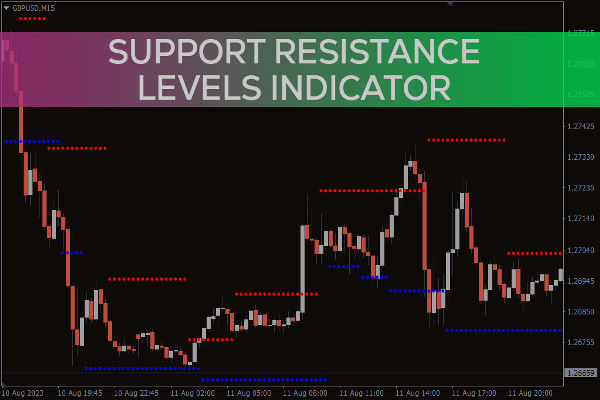
This principle is visualised on price charts through zones or levels where price has previously reversed due to significant buying or selling pressure. These zones can serve as potential entry or exit points based on the price's action when it returns to them.
A supply zone is a price area where selling pressure has historically outweighed buying interest. When the price reaches this level again, it's likely to face resistance and potentially reverse to the downside.
These zones are usually created by a sharp drop in price after a consolidation period, signalling aggressive selling by institutions or large traders. The reasoning is straightforward: if the market declined quickly from a level before, there might be unexecuted sell orders pending at that level.
A demand zone is the opposite—it represents an area where buyers took control and drove prices higher. These areas are formed when the market rapidly rises from a price range, indicating institutional buying.
When price returns to this zone in the future, traders watch for signs of renewed buying interest. It becomes a support area where entries can be considered with favourable risk-reward setups.

To identify the most dependable supply and demand levels, begin your assessment on larger time frames such as the daily or weekly charts. These zones are more significant because they represent decisions made by large institutional traders.
Once identified, you can drop to lower time frames—such as the 4-hour or 1-hour chart—to fine-tune your entry points. This top-down approach ensures you're trading in the direction of the broader trend and using levels that hold more weight.
Higher time frame zones are also more likely to act as real turning points, while lower time frame zones may be vulnerable to short-term noise.
Not all price levels are created equal. The most powerful supply and demand zones are marked by strong, explosive moves away from a base level. It indicates that there was an immediate disparity of orders, usually due to institutional activity.
While reviewing charts, seek out candles that indicate a strong movement away from a narrow consolidation range. Long-bodied candles with little to no wick suggest conviction and are likely to attract future attention from traders when the price returns.
Avoid zones where the price drifted slowly or showed indecision. These are less reliable and may fail to provide solid entries.
While supply and demand zones are strong on their own, additional confirmation can improve your win rate. Watch how price behaves when it revisits a zone.
Does it produce rejection candles, such as pin bars or engulfing patterns? Is volume rising as price enters the zone, suggesting institutional participation? These clues help validate whether the zone is likely to hold or break.
You can also use order block concepts and Smart Money Concepts (SMC) to confirm institutional interest at the zone.
Supply and demand trading is not about predicting exactly where the price will turn—it's about defining areas of interest and preparing to act based on confirmation.
When the price reaches a zone, wait for confirmation before entering a trade. It may arise from a reversal pattern on a shorter time frame, a structural break, or an indicator signal such as RSI divergence.
Placing trades without confirming the moment price touches a zone may work occasionally, but it increases the chances of getting stopped out if the level doesn't hold. Let the market show its hand first.

Markets are dynamic. A supply or demand zone that worked perfectly last week may no longer hold true today. Be flexible and adjust your zones as new price action develops.
For example, if price overshoots a supply zone slightly but still reverses, you may need to broaden your zone boundaries to include the full reaction area. Alternatively, if price slices through a zone without hesitation, it's a sign the level is no longer valid.
Regularly refining your zones ensures they reflect current market sentiment rather than outdated assumptions.
Supply and demand zones are most effective when traded in alignment with the prevailing trend.
In an uptrend, focus on demand zones for long setups. These represent opportunities to buy dips as the trend continues.
In a downtrend, prioritise supply zones for short trades, as they offer spots to sell rallies.
Counter-trend trades can be effective, yet they involve greater risk and typically demand stricter stop-losses and faster exits. If you're new to trading, stick to trend-following setups for higher probability trades.
Supply and demand zones provide natural boundaries for setting stop-loss orders. When entering a trade at a demand zone, your stop can be placed just below the zone's lower boundary. For supply zones, stops go just above the upper boundary.
This approach creates favourable risk-to-reward ratios, as you're entering near a key level with minimal downside.
Remember, not every trade will work out. Accept small losses when zones fail, and ride the successful trades when zones lead to strong reversals or trend continuations.
Trading supply and demand requires patience. The best setups often come after long periods of waiting. Resist the urge to force trades when the price is in the middle of a range or far from any key zones.
Consistency is also critical. The more you apply your zone-drawing technique and review past charts, the better your eyes become at spotting high-probability levels. Keep a trading record to track successful areas, unsuccessful ones, and the reasons for each outcome.
Over time, you'll develop your own supply and demand playbook that fits your trading style and personality.
Even experienced traders make errors when applying this method. Some common mistakes include:
Drawing zones that are too wide or too narrow
Failing to wait for confirmation
Trading every zone regardless of context
Ignoring higher time frame trends
Not adjusting zones based on new price action
Avoiding these pitfalls can dramatically improve your trading consistency.
In conclusion, supply and demand trading is ideal for traders who appreciate simplicity, structure, and market logic. Instead of relying on dozens of indicators, you focus on the raw behaviour of price and volume at key levels.
Lastly, this approach aligns well with both short-term scalping and longer-term swing trading. It's also highly adaptable across asset classes—stocks, forex, and indices all exhibit supply and demand dynamics.
Disclaimer: This material is for general information purposes only and is not intended as (and should not be considered to be) financial, investment or other advice on which reliance should be placed. No opinion given in the material constitutes a recommendation by EBC or the author that any particular investment, security, transaction or investment strategy is suitable for any specific person.